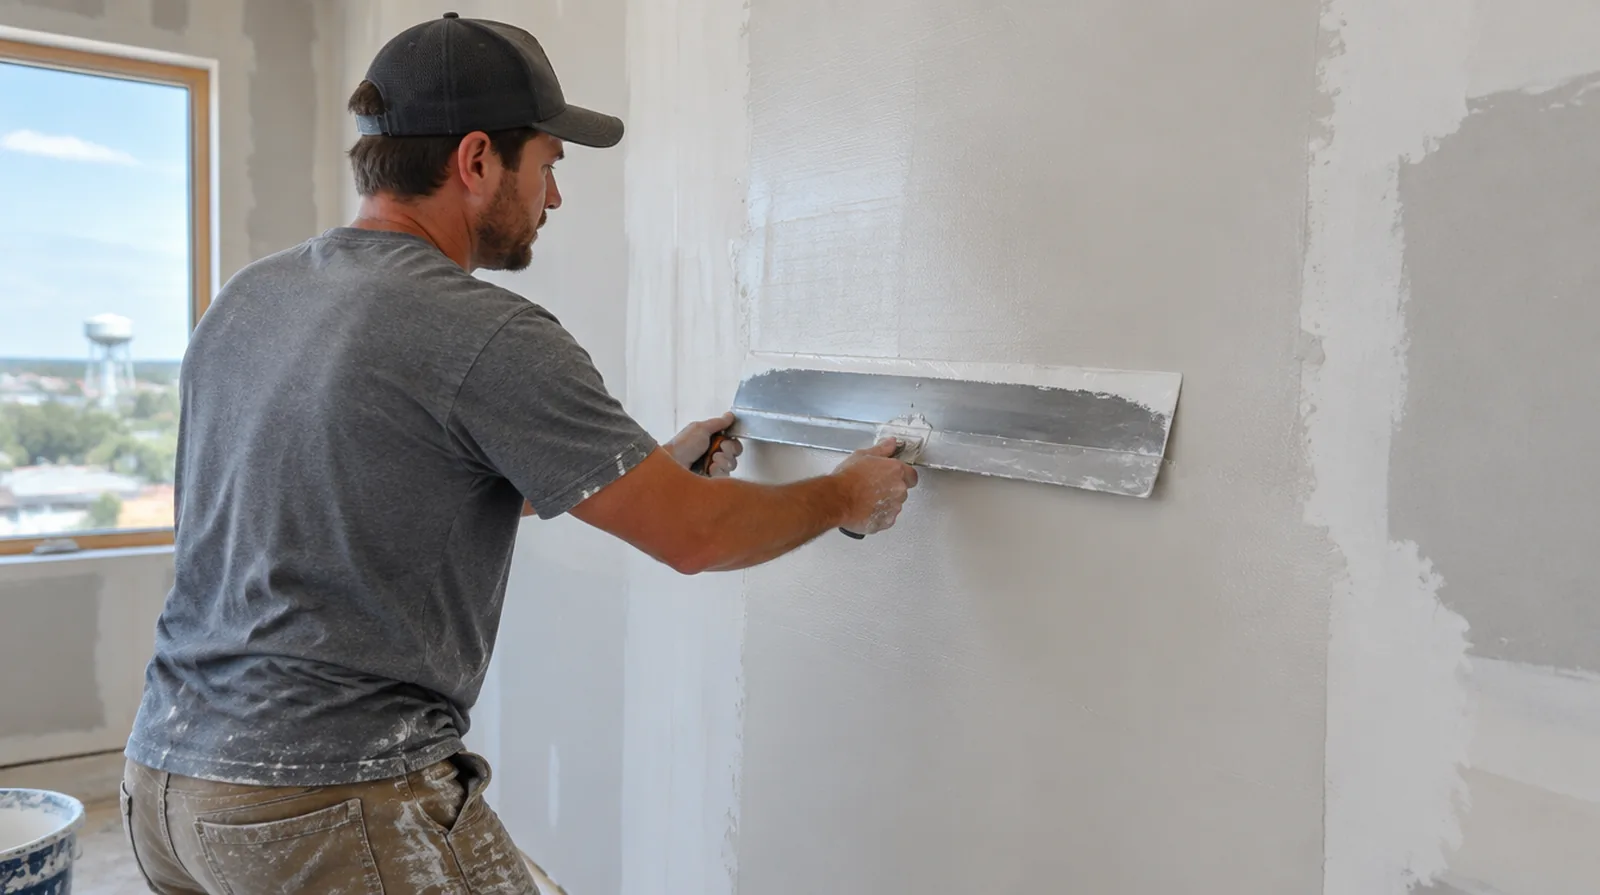
Apply controlled thin layers
Build a refined surface with controlled applications rather than a heavy unsupported deposit. More than one pass may be necessary where the original texture creates deeper low points. Where flooring is staying in place, agree on protective coverings and check that tools and material handling will not damage the visible finish.
Clean and prepare the wall
Adhesion can be compromised by dirt, oil or residues left on the old coating. Select cleaning and any necessary bonding preparation according to the actual surface condition. Where a surface has been painted many times, consider whether differences in texture or sheen will require a wider decorative treatment.
Refine with minimal sanding
Good application reduces the amount of sanding needed to achieve a uniform finish. Even so, plan dust protection and extraction for the fine particles produced by broad surface work. For walls beside bright windows, review a dry sample from an oblique angle as well as looking straight at the repaired surface.
Inspect using side light
A surface can appear even under direct lighting while revealing shallow tool lines from the side. Review the dry wall under the conditions that will matter after the space is decorated. For a project with several trades, agree which inspection or handover point must happen before the next person starts work.
Stabilize torn paper
Wet finishing material can lift damaged paper if the exposed area has not been suitably prepared. Damaged spots need an suitable sealing approach before the broad finishing coats are applied. For an initial assessment from pictures, provide an overall room photograph and a detailed view of the defect so both context and scale are apparent.
Assess the existing coating
A thin new finish depends on the strength of the coating that will remain underneath it. Separate peeling or poorly bonded material from a stable wall that merely needs smoothing. For a wall receiving a decorative covering, provide its preparation requirements early enough for the drywall finish to support that product.
Let each coat dry
Room temperature, humidity and airflow influence drying interval across a broad coated surface. A rushed next coat can drag or disturb material that has not set up sufficiently. Where a neat final edge matters, agree whether the finish ends against existing trim or whether that trim will be removed and replaced.
Define the smoothing target
Flattening a light texture is different from correcting deep waves across an entire wall. The scope should describe what the skim is expected to improve and what remains outside that finish treatment. For a tightly furnished room, plan temporary storage and the minimum working clearance before material is carried into the property.
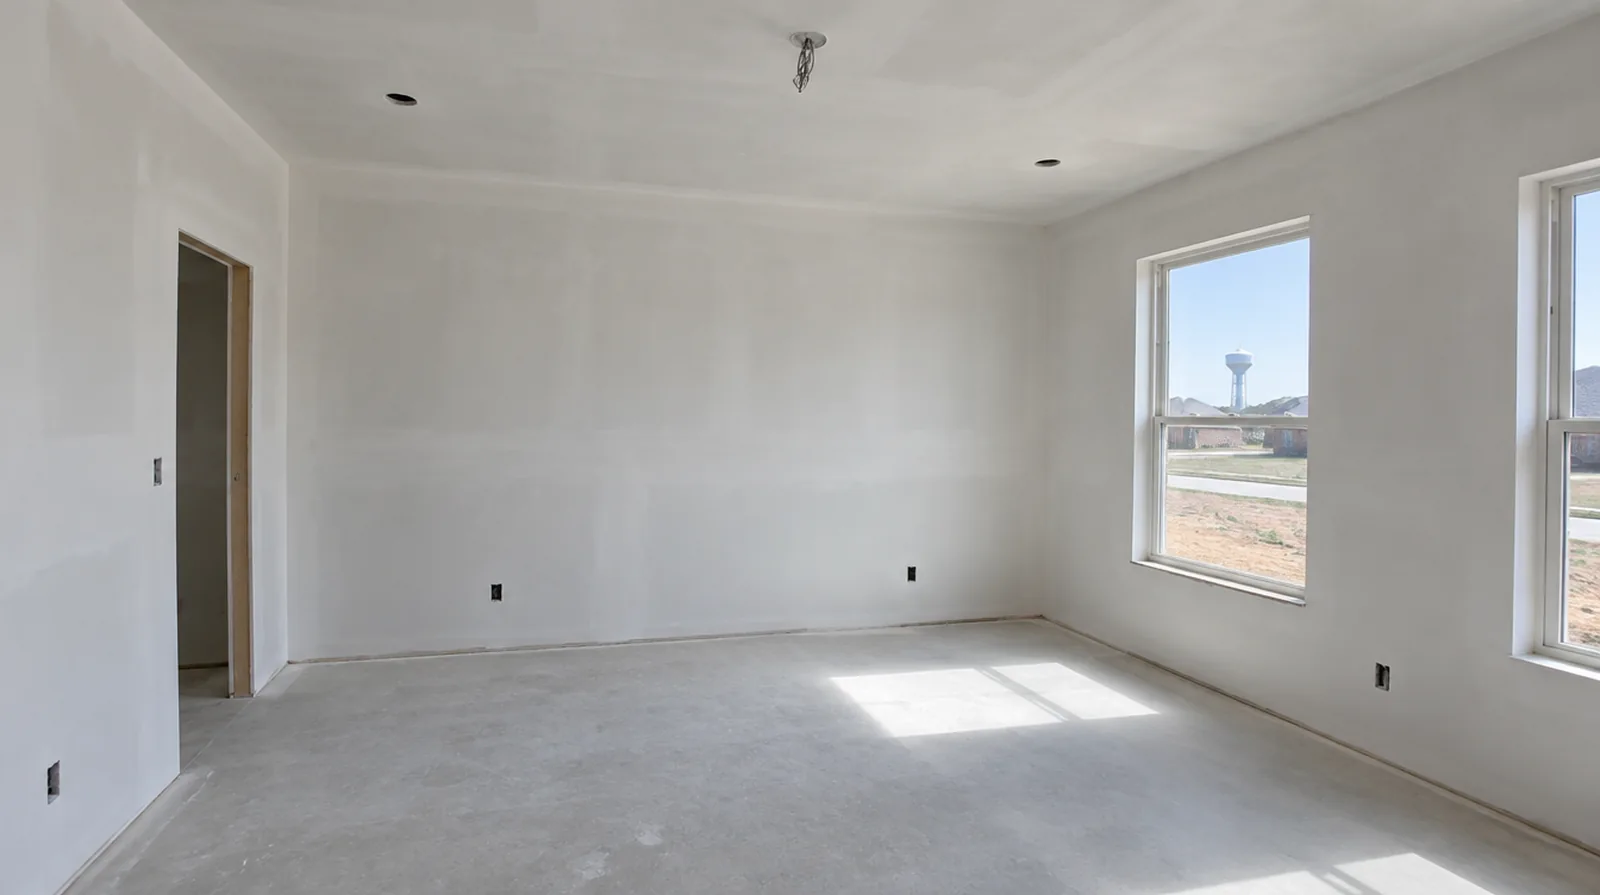
Choose paint with the finish
Higher sheen coatings can emphasize small variations that a matte finish makes less obvious. Connect the paint selection to the agreed preparation standard before deciding how extensive the skim work should be. At the handover inspection, review the finish from ordinary room positions using the lighting conditions that were agreed for the work.
Prime before decoration
Fresh skim compound needs an appropriate primer before the finish paint is applied. Primer helps equalize absorption and may reveal small touch ups that should be resolved before the final coat. When the decorative coating has been selected, tell the finisher its intended sheen and color while the preparation of the surface standard is still being agreed.
Project context in Norman
A drywall contractor can describe the surface work, while a concern about the supporting structure may need a separate professional assessment. Keeping the cause, repair method and decorative finish distinct makes the proposal easier to understand.
Scope questions before finishing
At the handover inspection, review the finish from ordinary room positions using the lighting conditions that were agreed for the work.
When the same defect has returned, share information about previous repair methods so the next assessment can consider why they did not last.
If the ceiling or wall includes fittings, identify the person responsible for removing and reinstalling each item before the work begins.
If the coating stability is unclear, assess which layers are adequately bonded and which should be removed rather than simply hidden beneath new material.
If scheduling is the main concern, separate hands on labor from drying intervals instead of treating every visit as a full day of active work.
At a surface receiving strong window light, review a dried trial from the side in addition to the normal straight view of the wall.
For an initial assessment from pictures, provide an overall room photograph and a detailed view of the defect so both context and scale are apparent.
When reviewing the finished work, use the agreed lighting and natural room viewpoints so the assessment reflects the intended use of the space.
When a quote includes multiple visits, ask what happens during each stage and when the room needs to remain undisturbed between coats.
For a wall receiving a decorative covering, provide its preparation requirements early sufficient for the drywall finish to support that product.
If a room has only limited ventilation, discuss how the finishing materials can dry without disrupting comfort or spreading dust elsewhere.
For a surface carrying numerous paint layers, discuss whether differences in the retained profile or sheen justify decorating a broader area.
Explore the Norman drywall overview for related options, or read the project planning information before arranging the next stage.
More planning details for Norman
A Norman doorway with a recurring hairline crack is a reason to discuss movement history rather than immediately choose the quickest surface treatment. Note when the crack appears, whether nearby doors change operation and what earlier repairs involved. Once that boundary is clear, plan protection and access for the selected method.